Through its non-contact, absolute, and material-independent measurement method, white light interferometry delivers consistent results – even where other optical methods reach their limits.
In combination with Heliotis’ high-speed sensors, it becomes an in-line capable key technology for automated quality control and process control – from the laboratory to series production.
WLI measures heights via the optical transit time of light. This physical principle enables constant vertical resolution – regardless of whether small microchips or large functional surfaces are measured.
The result: consistent accuracy, regardless of lens or working distance.
In industrial quality control, surfaces of various types meet – polished, coated, structured, or transparent.
WLI measures reliably on all these materials, as it does not rely on reflectivity, color, or texture. Even highly glossy or transparent surfaces are captured without pre-treatment – neither powdering nor matting is required.
Unlike triangulation methods, WLI works with axial light beams. Even bores, steps, or deep channels are fully captured – without shadowing or inclination. Ideal for complex geometries and confined installation situations.
Thanks to the lock-in pixel technology developed by Heliotis, the interference signal is evaluated directly in the sensor – up to 1000 times faster than with classical interferometry.
This makes WLI vibration-resistant, fast, and process-capable – perfect for automated quality control.
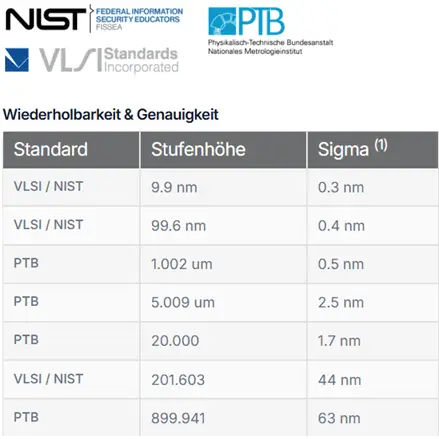
WLI delivers real, absolute 3D topographies – traceable to national standards.
Thanks to high stability and repeatability, Heliotis systems meet the requirements for measuring equipment capability (Gage R&R) in inline inspection.
Whether roughness, shape, or flatness – all features are metric, verifiable, and reproducible. This creates trust – both with customers and in internal manufacturing and quality assurance.

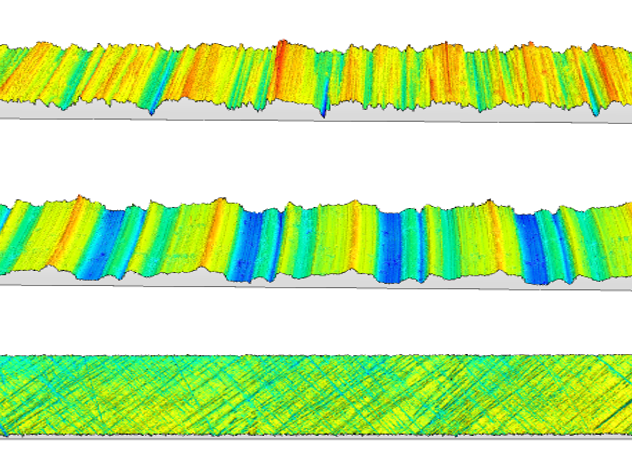
WLI measures area-based and provides roughness parameters according to ISO 25178 – non-contact and non-destructive.
The high vertical resolution enables meaningful 3D texture models for functional properties such as sealing, adhesion, or friction.
This makes roughness testing process-reliable and in-line capable.

Heliotis sensors rely on open industrial interfaces – from GenICam via EtherCAT® and PROFINET® to a comprehensive SDK.
This allows WLI systems to be integrated directly into PLC controls or machine vision PCs – without proprietary drivers or special solutions.
The standard conformity reduces integration effort and ensures reliable communication at the machine level.
Heliotis sensors are developed for industrial use – robust, stable, and available for the long term.
Manufactured under series conditions and compatible for years, they offer reliability for machine builders and OEMs.